Gluten Free Dinner Rolls Recipe
Why Gluten Free Dinner Rolls?
When I went gluten-free in 2010, I struggled to find rolls and buns that matched the flavor and texture of traditional bread. My family loved Sister Schubert yeast dinner rolls, and I missed those pull-apart, buttery delights. That’s when I discovered Gluten-Free Mama’s Almond Flour Blend, which changed my baking game. These gluten free dinner rolls bring back those cherished memories and are sure to satisfy your cravings.

Ingredients
To make 18 delicious gluten free dinner rolls, you’ll need the following ingredients:
- 3 cups all-purpose gluten-free flour: I recommend using Pillsbury gluten-free flour, as not all blends yield the same results. Bob’s Red Mill and King Arthur Measure for Measure blends are not recommended for yeast baking.
- 1 teaspoon salt: Enhances flavor and helps with yeast activation.
- 1 ½ teaspoons xanthan gum: If your gluten-free flour blend contains xanthan gum, you can omit this ingredient.
- 1 ¾ teaspoons rapid yeast/instant yeast: Instant yeast works great because it eliminates the need to proof it beforehand.
- 1 ¼ cups warm milk (110°F-115°F): Use dairy-free alternatives like almond, cashew, or coconut milk if needed.
- ¼ cup unsalted butter, softened: You can substitute this with dairy-free butter like Earth Balance or Smart Balance.
- 2 eggs, room temperature: Eggs help bind the dough and add moisture.
- ½ cup honey: Adds natural sweetness and moisture.
- 1 teaspoon apple cider vinegar: This helps to create a tender roll and supports yeast activity.
- 2 tablespoons unsalted butter, melted: For brushing on top of the rolls before serving, adding extra flavor and a beautiful sheen.
Kitchen Tools
Before you start baking, gather the necessary kitchen tools:
- Large mixing bowl: For combining ingredients.
- Measuring cups and spoons: Accurate measurements are crucial in gluten-free baking.
- Whisk or electric mixer: To thoroughly mix the dough.
- Ice cream scoop: Perfect for portioning the dough.
- Spatula: For smoothing the tops of the dough balls.
- Two 9-inch cake or pie pans: For baking the rolls.
- Kitchen towel: To cover the rolls while they rise.
- Thermometer: To check the temperature of the milk and the rolls.
Step-by-Step Instructions
Follow these steps to create your own gluten free dinner rolls:
Step 1: Prepare the Dry Ingredients
In a large mixing bowl, combine the 3 cups of gluten-free all-purpose flour, 1 teaspoon of salt, and 1 ½ teaspoons of xanthan gum (if needed). Whisk these ingredients together to ensure they are well mixed.
Step 2: Add the Yeast
Create a small well in the center of the flour mixture. Add 1 ¾ teaspoons of rapid yeast into the well. This method allows the yeast to interact more effectively with the liquid ingredients that will be added later.
Step 3: Warm the Milk
Heat 1 ¼ cups of milk to about 110°F-115°F. You can do this by microwaving the milk in a large glass measuring cup for about 1 minute and 30 seconds. It’s important to use a thermometer to check the temperature, as milk that is too hot can kill the yeast.

Step 4: Combine Wet Ingredients
Pour the warm milk over the yeast in the flour mixture. Next, add ¼ cup of softened butter, 2 room-temperature eggs, ½ cup of honey, and 1 teaspoon of apple cider vinegar. Mix these ingredients together until fully combined, about 2-3 minutes. You may need to scrape down the sides of the bowl to incorporate all the flour. The dough will be sticky, which is normal for gluten-free bread.gluten free dinner rolls
Step 5: Prepare the Baking Pans
Spray two 9-inch cake or pie pans with gluten-free cooking spray. This will prevent the rolls from sticking.
Step 6: Portion the Dough
Using an ice cream scoop, portion out the dough into the prepared pans. Aim for 8 dough balls around the edge of each pan and 1 dough ball in the center. This recipe will yield 18 rolls in total. To make it easier, spray the ice cream scoop with gluten-free cooking spray to prevent the dough from sticking.
Step 7: Smooth the Tops
Take a small spatula and gently smooth out the tops of the dough balls. This will help them bake evenly and give them a nice appearance.
Step 8: Let the Rolls Rise
Cover the pans with a kitchen towel and place them in a warm spot to rise for about 1 hour. This is an important step that allows the yeast to do its job, creating fluffy rolls.
Step 9: Preheat the Oven
While the rolls are rising, preheat your oven to 400°F. This ensures that the oven is hot and ready for baking when the rolls are done rising.
Step 10: Bake the Rolls
Once the dough has risen, place the pans on the middle rack of the preheated oven. Bake for 14-16 minutes or until the rolls are golden brown. Keep an eye on them, as ovens can vary in temperature. The internal temperature of the rolls should measure 200°F when done.
Step 11: Brush with Butter
Melt 2 tablespoons of butter and brush it over the tops of the warm rolls right after they come out of the oven. This adds flavor and gives them a beautiful, shiny finish.
Step 12: Serve and Enjoy!
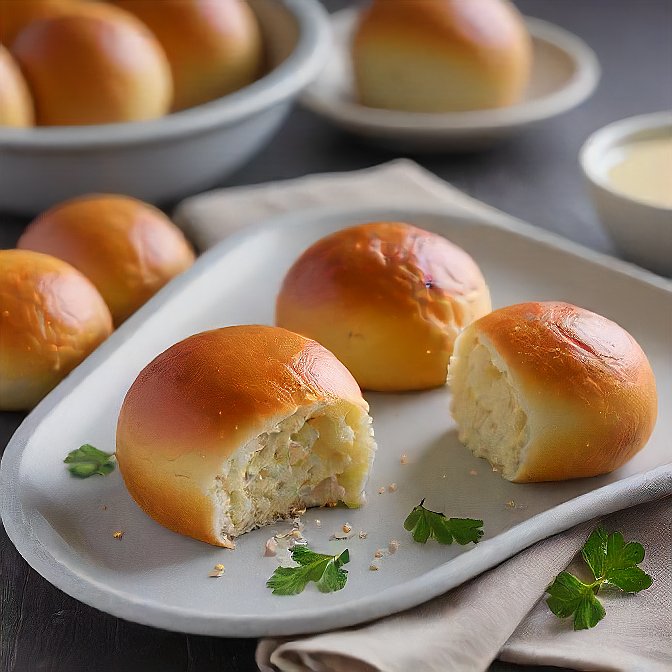
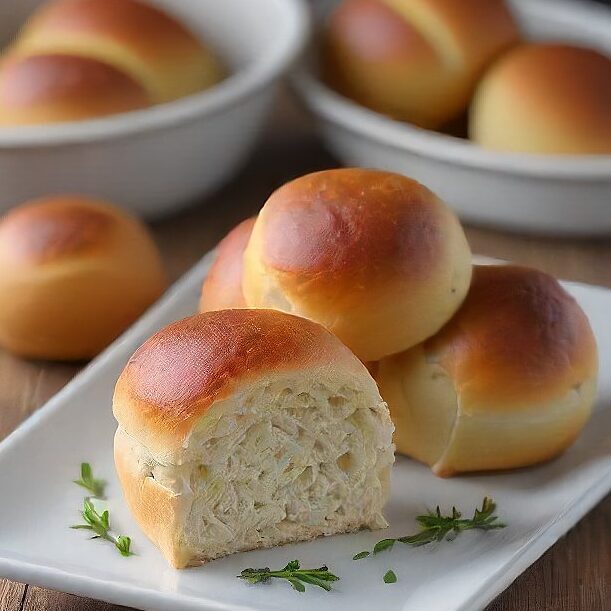
These gluten free dinner rolls are best enjoyed warm. If you have leftovers, store them in an airtight container and reheat them before serving to bring back their fresh-baked goodness.
Tips for Successful Gluten-Free Baking
- Choosing the Right Flour: Not all gluten-free flours are created equal. Stick to those known for yeast baking, like Pillsbury gluten-free flour, for the best results. Experimenting with blends may lead to varying outcomes.
- Proper Measurement: Use the “spoon & level” method when measuring gluten-free flour. Scoop the flour into your measuring cup with a spoon and then level it off with the back of a knife. Avoid scooping directly from the bag, as this can lead to overly packed flour and inaccurate measurements.
- Dairy-Free Substitutes: If you need to make these rolls dairy-free, substitute the milk with almond, cashew, or coconut milk and use dairy-free butter. The taste and texture will still be delicious!
Conclusion
Making gluten free dinner rolls at home is a rewarding experience that brings back the joy of fresh-baked bread without gluten. These rolls are not only easy to make but also versatile, perfect for any occasion—from holiday dinners to everyday meals.
So, gather your ingredients, follow the steps, and enjoy the satisfaction of pulling apart warm, fluffy gluten free dinner rolls straight from your oven. Your family and friends will love them, and you’ll be proud to serve homemade rolls that everyone can enjoy!
More Gluten-Free Recipes to Try
If you love these gluten free dinner rolls, consider trying out these other delicious gluten-free baking recipes:
- Homemade Gluten-Free Bread: Perfect for sandwiches or toast, this recipe can be made in a breadmaker and has a dairy-free option.
- Gluten-Free Buttermilk Biscuits: Flaky and buttery, these biscuits are a delightful addition to any meal.
- Easy Gluten-Free Bread: A simple recipe that’s quick to prepare and great for everyday use.
- Gluten-Free Sweet Cornbread: This sweet and moist cornbread pairs perfectly with soups and stews.
Let’s stay connected! Follow me on Facebook, Instagram, or Pinterest for more gluten-free recipes and baking tips. Happy baking!

