Gluten Free Brownies
Ultimate Gluten Free Brownies Recipe
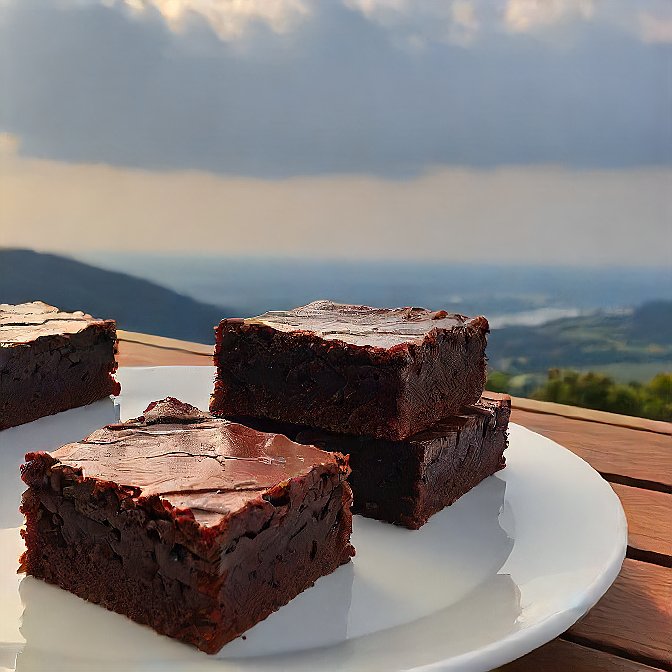
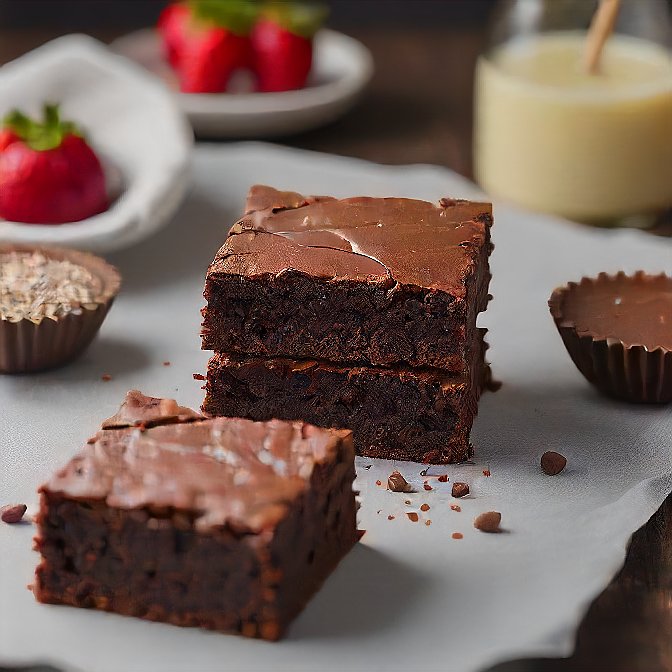
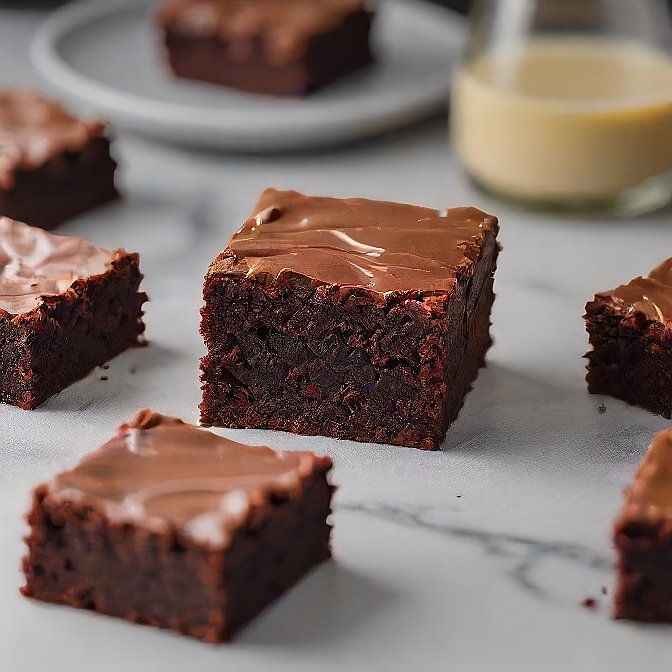
If you’re a chocolate lover like me, the moment you take a bite into these gluten free brownies, you’ll be transported to chocolate heaven. With a perfect flaky crust and a light, chewy interior, these brownies are sure to satisfy your cravings. What makes this gluten-free brownie recipe special is its simplicity—no need for complicated procedures or specialized equipment. In just over 30 minutes, you can whip up a batch of these decadent delights that will leave you wondering why you ever used a gluten-free brownie mix before!

Why Choose Homemade Gluten Free Brownies?
Store-bought gluten-free brownie mixes often contain additives and preservatives, and they can’t compete with the taste and texture of homemade brownies. By making your own gluten free brownies, you can control the ingredients and ensure a rich, fudgy, and chewy texture. Plus, this brownie recipe gluten free is a one-bowl wonder—you won’t even need a mixer!
Ingredients for Gluten-Free Brownies
Here’s what you’ll need to create your own batch of gluten free brownies:
- 1/2 cup unsalted butter, melted (for a dairy-free option, use Smart Balance butter)
- 3/4 cup granulated sugar
- 1/2 cup brown sugar, packed
- 2 large eggs
- 1 tablespoon pure vanilla extract
- 3/4 cup all-purpose gluten-free flour with xanthan gum (I recommend Pillsbury gluten-free flour)
- 1/2 cup cocoa powder (for a rich chocolate flavor)
- 1/2 teaspoon baking soda (to help the brownies rise)
- 1/2 teaspoon salt (to enhance the chocolate flavor)
Measuring Tips
When it comes to baking gluten free brownies, measuring your ingredients accurately is key. Use the “spoon & level” method for your gluten-free flour: spoon the flour into the measuring cup and then level it off with the back of a knife. This method prevents you from adding too much flour, which can result in dense brownies.
Instructions for Making Gluten-Free Brownies
Step 1: Preheat the Oven
Start by preheating your oven to 350º F (175º C). This ensures that your brownies bake evenly.
Step 2: Prepare the Baking Pan
You can choose to use an 8×8-inch square baking pan. Spray it with gluten-free non-stick cooking spray, or line it with parchment paper and coat it with gluten-free nonstick cooking spray or butter. This will help the brownies release easily after baking.
Step 3: Mix Wet Ingredients
In a large mixing bowl, combine the melted butter, granulated sugar, brown sugar, and vanilla extract. Mix well until everything is fully combined and smooth. The combination of sugars helps to create that perfect chewy texture we all love in gluten free brownies.
Step 4: Add Eggs
Add the eggs one at a time to the wet mixture, mixing thoroughly after each addition. The eggs provide structure and moisture to the brownies, making them rich and delicious.
Step 5: Combine Dry Ingredients
In a separate bowl, whisk together the gluten-free flour, cocoa powder, baking soda, and salt. This step ensures that the dry ingredients are evenly distributed throughout the brownie batter.
Step 6: Combine Wet and Dry Ingredients
Gradually add the dry ingredient mixture to the wet ingredients. Stir until everything is fully combined and the batter is smooth. Make sure not to overmix, as this can affect the texture of your gluten free brownies.

Step 7: Bake the Brownies
Pour the brownie batter into your prepared baking pan. Use a spatula to spread it evenly. Bake in the preheated oven for 30-35 minutes. To check for doneness, insert a toothpick into the center of the brownies; it should come out with a few moist crumbs, not completely clean. The sides will also begin to pull away from the pan.
Step 8: Cool and Serve
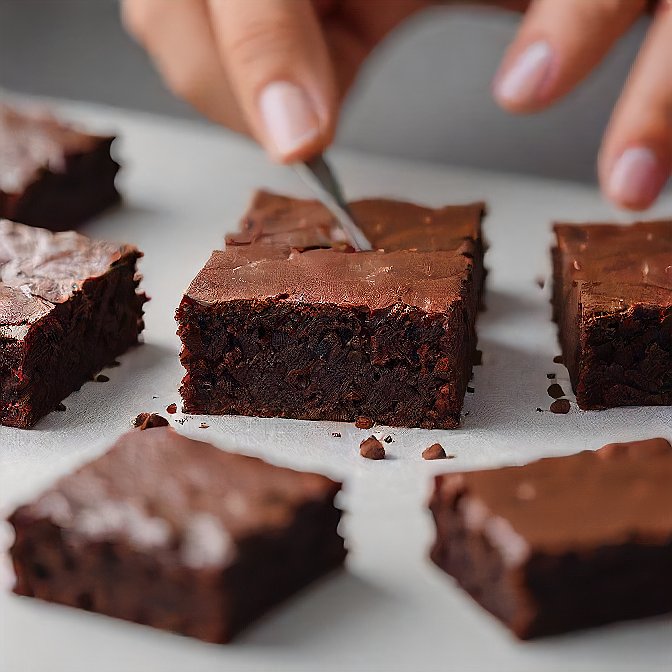
Once baked, remove the brownies from the oven and allow them to cool completely in the pan. This cooling period helps set the texture and makes them easier to cut. After they have cooled, slice them into squares and enjoy!
Tips for Perfect Gluten-Free Brownies
- Check Your Flour: Not all gluten-free flours are created equal. The type of flour you choose can significantly impact the outcome of your gluten free brownies. I recommend using a blend that contains xanthan gum for the best results.
- Pan Choice: I prefer baking brownies in a glass pan. Glass provides better heat distribution, leading to evenly baked brownies. If you use a metal pan, be cautious as they can heat up quickly, which may result in overbaked brownies.
- Add Mix-Ins: Don’t hesitate to personalize your gluten free brownies! Mix in your favorite add-ins such as chocolate chips, nuts, or M&M’s to create your own twist.
Storage Instructions for Gluten-Free Brownies
To store your leftover gluten-free brownies, place them in an airtight container. They can be kept at room temperature for up to 3 days or refrigerated for up to 1 week. If you want to keep them longer, you can freeze the brownies. Once they are completely cooled, wrap them tightly in plastic wrap or foil, then place them in a freezer bag. They can be stored in the freezer for up to 3 months. When you’re ready to enjoy, simply thaw them at room temperature for a few hours or in the refrigerator overnight.

Conclusion
This gluten-free brownie recipe is a game changer for anyone who loves chocolatey desserts but needs to avoid gluten. With its easy preparation and rich flavor, you’ll never want to reach for a gluten-free brownie mix again. These brownies are perfect for any occasion, whether you’re serving them at a party, enjoying them as a snack, or sharing them with friends and family.
So grab your ingredients and get ready to bake the most delicious gluten-free brownies you’ve ever tasted. Trust me, once you try this recipe, you’ll be hooked on making your own brownies from scratch. Happy baking!

